The next time you are looking for an easy way to create a timeline, use Microsoft Office.
In a Word document or PowerPoint presentation,
- insert SmartArt Graphic.
- Click on the “Process” SmartArt Graphic type
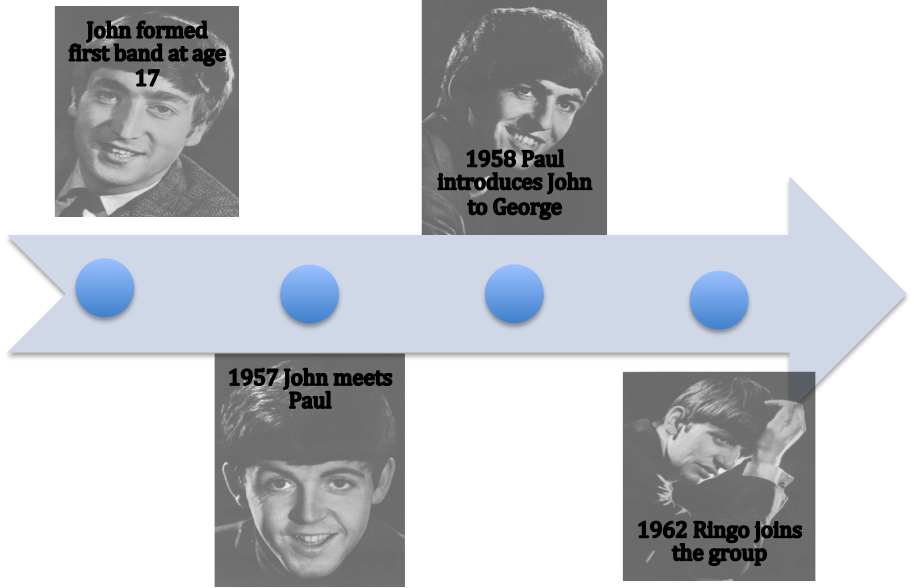
- insert a Basic Timeline from the available choices.
Once you’ve completed your timeline, right click on the timeline and choose to “Save as Picture…” By saving the timeline as an image, it can be used in other documents or uploaded to a website such as Moodle or Mahara.
For more information, see the following website:
http://office.microsoft.com/en-us/word-help/create-a-timeline-HA010336240.aspx
